Release of Azure Cloud Upload feature
We are proud to announce that the new Azure cloud upload feature has just been released.
You may be familiar with the previous EC2 Cloud Upload feature. This time, it is the turn of Azure images. The new feature we are presenting allows you to upload Azure images created in OBS to Microsoft Azure.
Uploading an Azure Image
In the package overview of an image (your own or another you find in OBS), you can check if your image was successfully built:
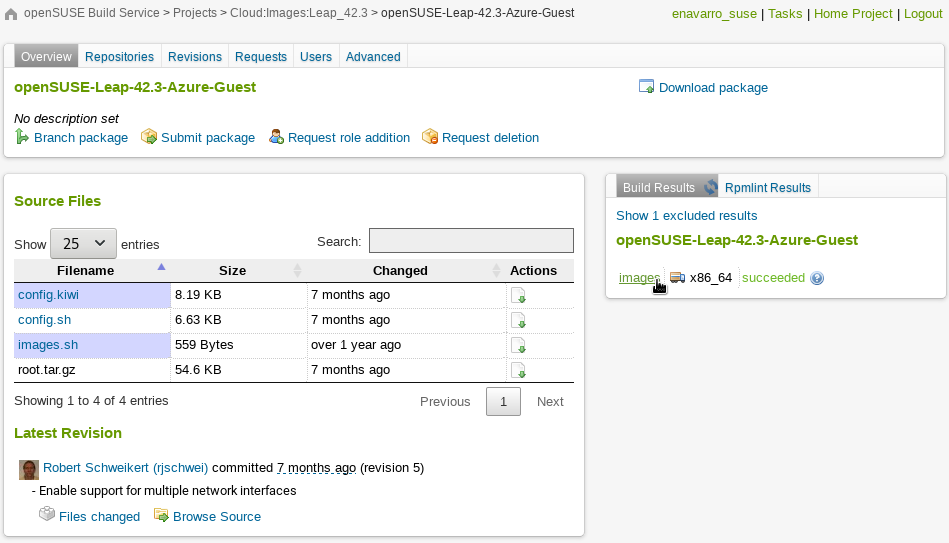
You can click the images link in the package view, which will take you to the binaries page:
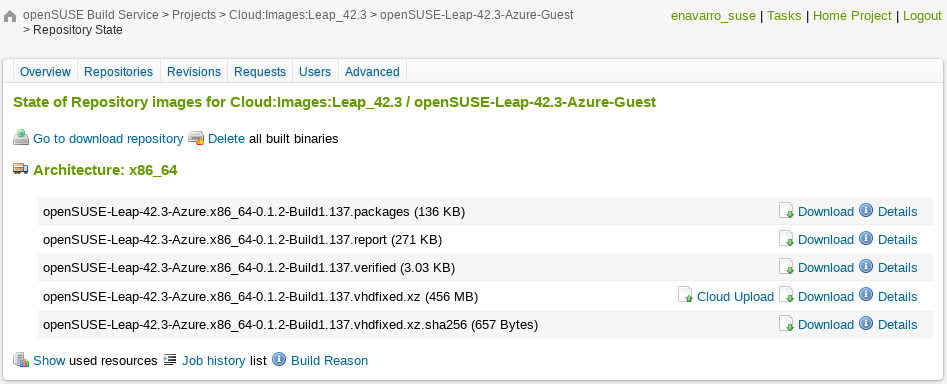
On the binaries page, you find all binaries and files that were created during a build for a certain repository and architecture.
If one of these files is an Azure image, there is a Cloud Upload link, which takes you to the Choose your Cloud page.

Select Microsoft Azure. You will be shown an Upload to Microsoft Azure page.

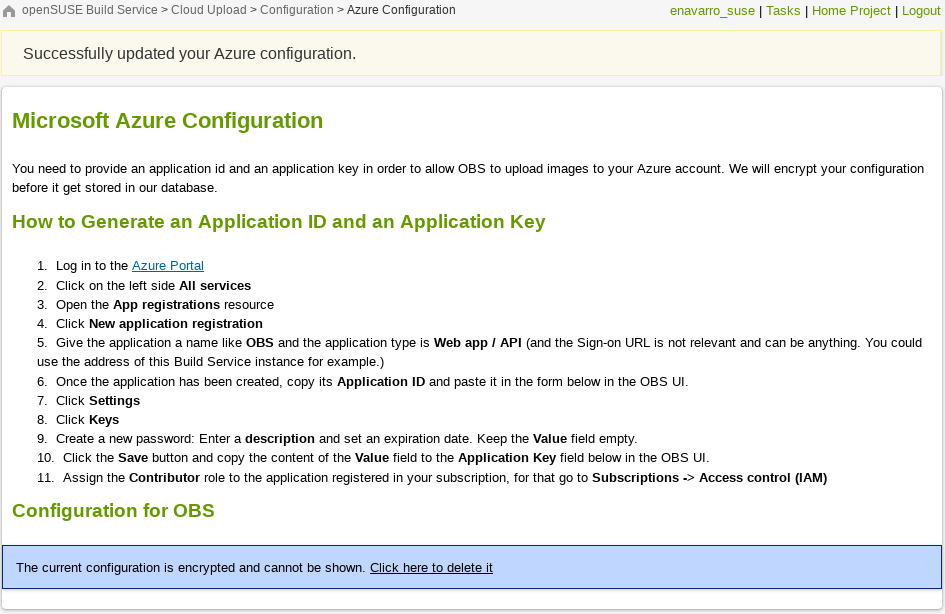
If this is your first upload to Microsoft Azure, you need to configure the access to your account via an App Registration. Check the Configuring Microsoft Azure Credentials section for more details.
After that you can trigger the upload clicking the Upload Image button.
You will see all cloud images you submitted to the cloud and their upload status.
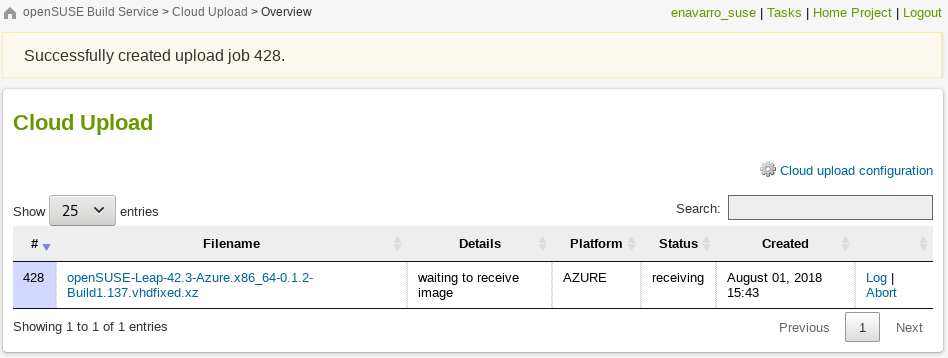
Follow the progress of the upload clicking on the Log link.
After some time, depending on the size of the image, you will see that your image was successfully uploaded.
Configuring Microsoft Azure Credentials
Go to the Microsoft Azure Configuration page.
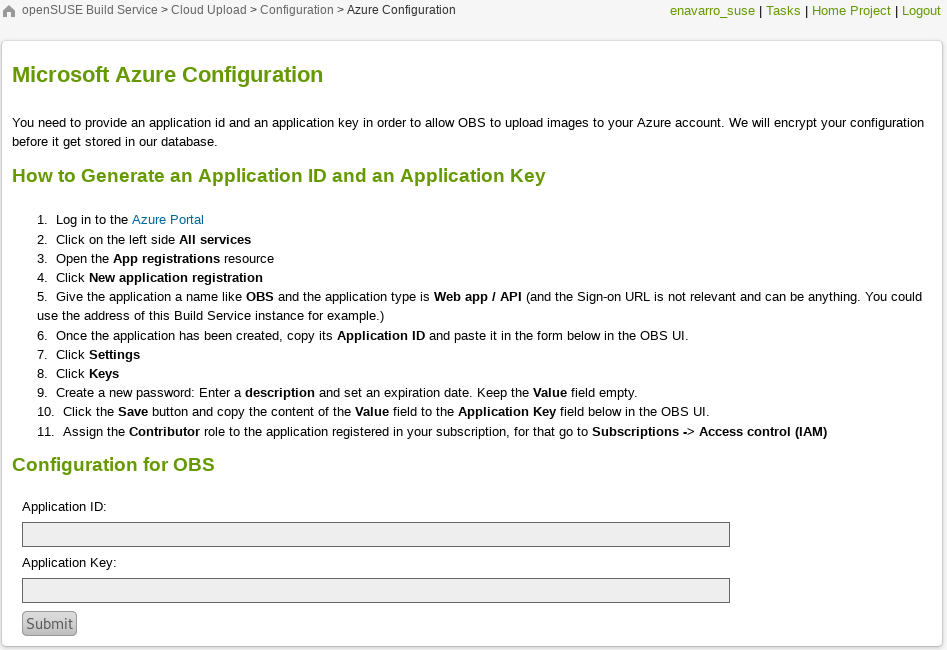
Follow the steps, fill the Application ID and Application Key fields and click on the Submit button.
Now you are able to upload an Azure image.
Like Amazon EC2 images, in case you don’t want to build an Azure image from scratch you might want to check out our image templates page. There you can find base templates, including Azure images.
Try it out and enjoy running your images in the cloud!
